Huizbirn - Insight into the workshop & woodturning videos

My workshop
My workshop is limited to about 13 m². In the summer, however, I like to move outdoors for various woodworking projects, when I'm not doing woodturning.
My hobby requires a lot of wood supplies, some of which are stored in the house, in the wood storage on the property, or at my mother's house.
My most important woodworking tools include:
Wood band saw
lathe
Angle grinder with speed control
Belt sander
miter saw
Wet grinder for grinding various tools
Various hand tools such as carving knives
Turning a wooden nutmeg mill made of oak
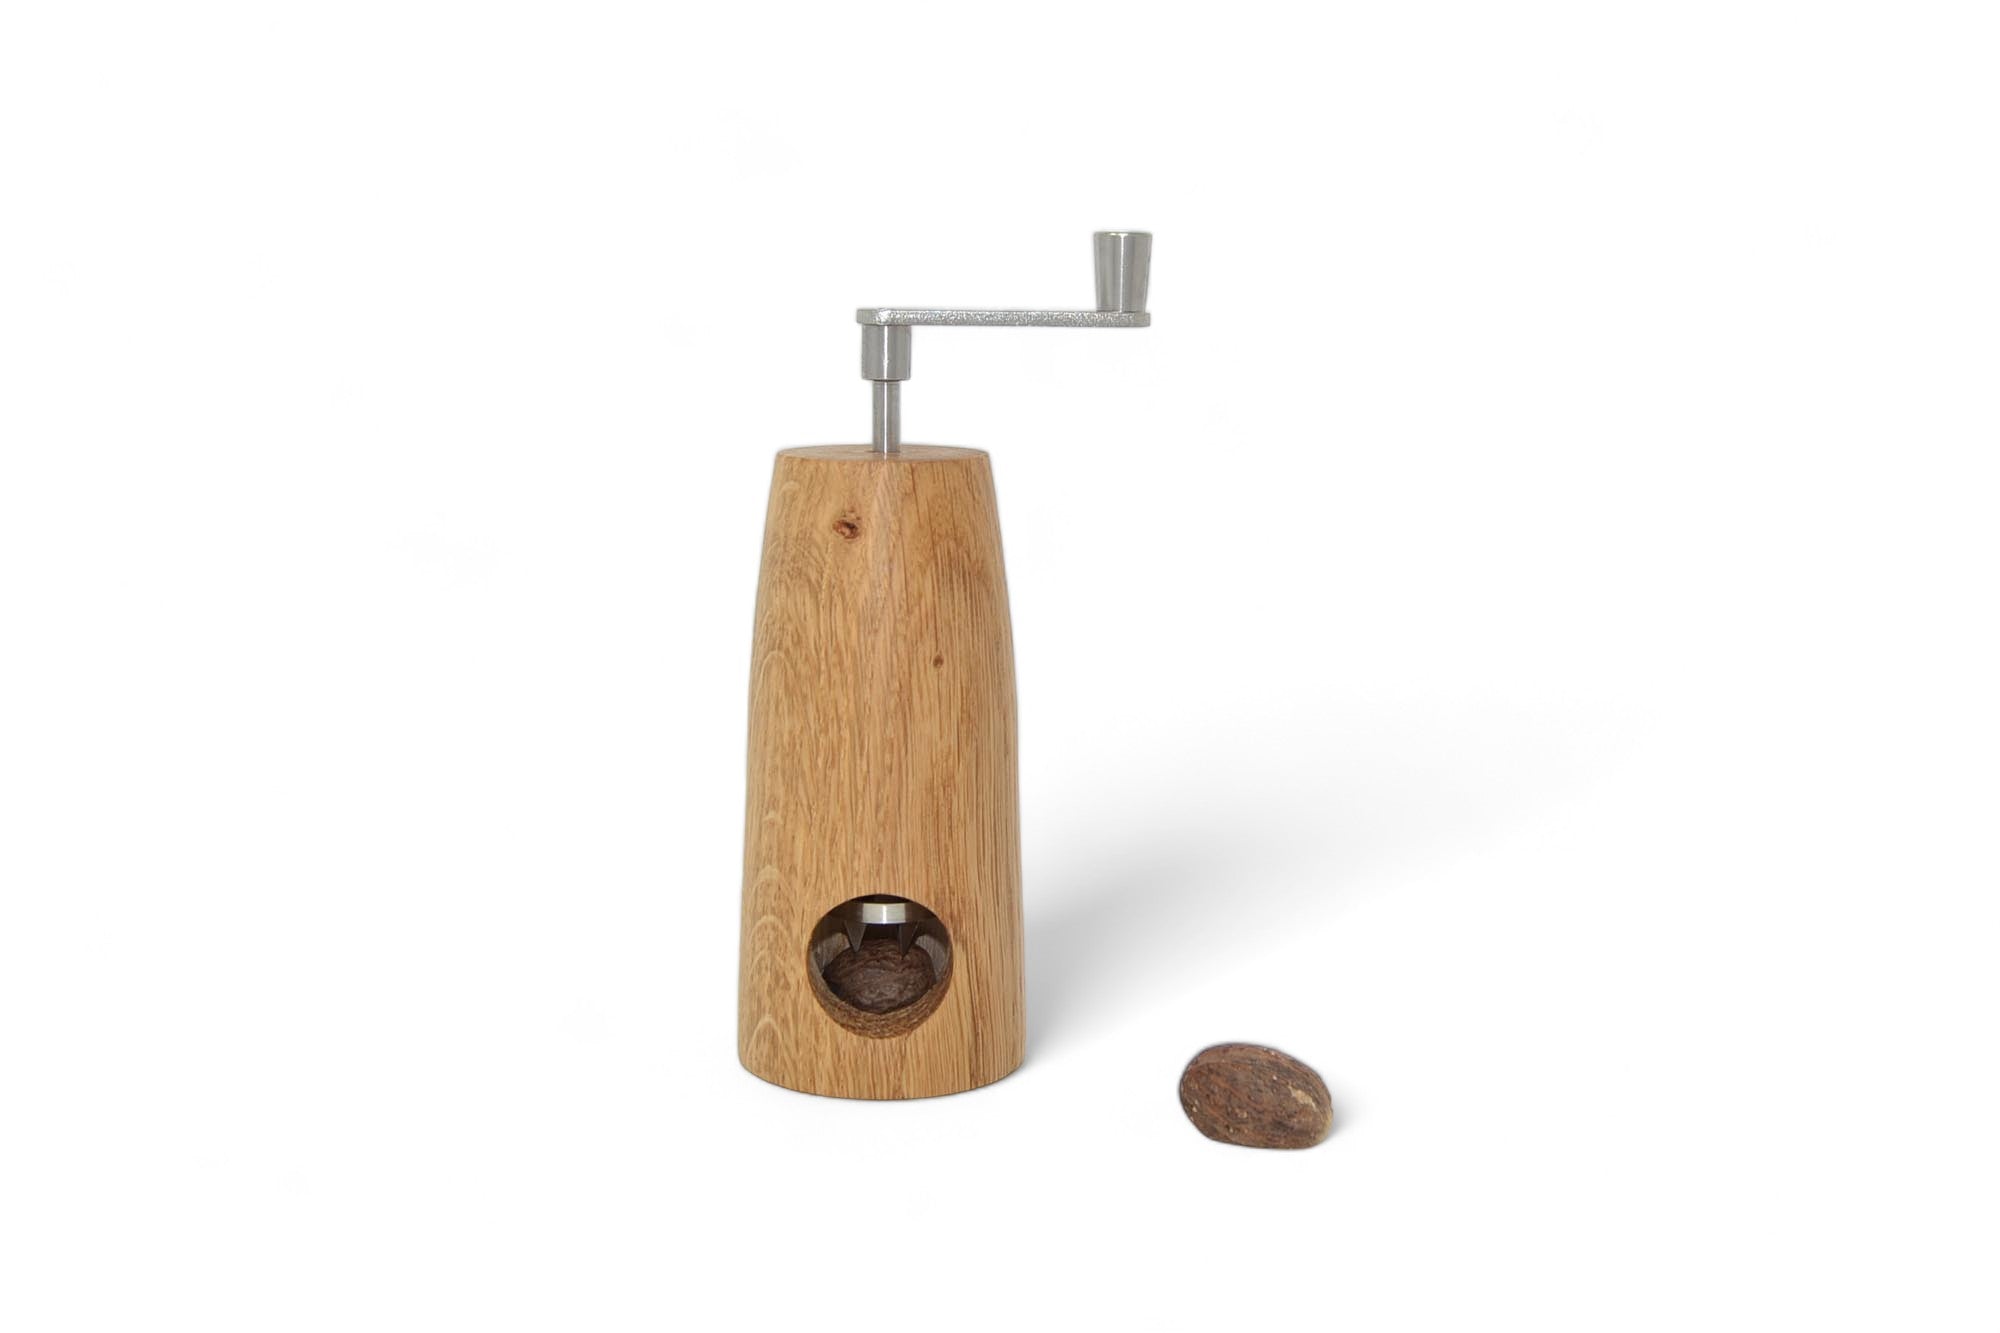
Steps in the process of turning a wooden nutmeg mill from oak wood
In this video I show how I turn a unique wooden nutmeg mill from oak wood.
The individual work steps leading to the finished nutmeg mill are divided into:
- Cut the wooden blank to 11.7 cm.
- Drill a hole to feed in the nutmeg.
- Turn round between the centers, turn the chuck mount.
- Shape the outer form, drill holes in the mill base.
- Sanding, oiling & polishing
- Assemble a wooden nutmeg mill
Turning an ice cream scoop with a wooden handle

Steps in turning an ice cream scoop with a wooden handle
Here I show you how to make an ice cream scoop with a wooden handle .
The individual steps to making the ice cream scoop are as follows:
- Cut wood to desired handle length
- Clamp in the jaw chuck and pre-turn round or roughly using the forming gouge
- Drill 5.5 mm hole for thread
- Grinding (120-240-400)
- Polish with polishing paste
- Parting
- Sanding the handle end
- Oil and polish again
- Assemble using CA glue

Steps for turning a wooden wine stopper
In this video I briefly show how a wine stopper is turned on a lathe.
The individual work steps leading to the finished wine stopper are divided into:
- Cutting wood
- Mark the centers of the workpiece
- Pre-turning and turning tenons for the chuck
- Pre-turn the lower part of the wooden bottle stopper on a lathe, pre-drill the screw hole.
- Clamp the workpiece to turn the upper part of the wooden bottle stopper.
- Sanding wine stoppers with sandpaper and polishing paste
- Oil the wood and let it dry.
- Polish the wood and screw in the kit.
- The unique wooden gift is finished :-)

Steps for turning a pizza cutter from wood
A brief insight into how a pizza cutter with a wooden handle is turned on a lathe.
The individual work steps leading to the pizza cutter with a wooden handle are divided into:
- Cutting wood
- Mark the centers of the workpiece
- Pre-turn between the centers and turn tenons for the chuck.
- Pre-turn the front part of the wooden pizza cutter, pre-drill the screw hole.
- Reposition the workpiece to turn the back part of the pizza cutter.
- Sand the wooden handle with sandpaper and polish with polishing paste.
- Oil the wood and let it dry.
- polishing wood
- Screw in a wood screw or glue it in with two-component adhesive, then screw in the kit.
- The wooden gift is finished :)

Steps in turning a wooden bowl with a natural rim
Here I show how to create a natural-edge decorative bowl from wild cherry wood using the bowl tube.
The following steps are necessary:
- Select a blank and mark the center.
- Roughly pre-cut the circle on the band saw
- Fix the faceplate to the workpiece with wood screws and clamp it onto the lathe.
- Turn the outer form, turn the recess to allow the blank to be clamped onto the chuck.
- Grind
- Turn the workpiece over and clamp it using a recess with a chuck.
- Turn the inside, constantly checking the wall thickness to ensure the bowl has an aesthetically pleasing shape and that the recess is not "turned right through".
- Grind
- Oil the wood and polish if necessary.

Steps involved in turning a wooden vase
Here I am working on an ash branch with a chisel in order to turn it into a wooden vase.
The individual steps involved in turning a wooden vase are divided into:
- Cut the wood to the desired length of the wooden vase.
- Mark the center
- Pre-turn between the centers, turn rounds, and turn tenons for the chuck.
- Clamp in the chuck and turn the desired shape.
- Drill a hole for the glass insert
- Finish turning and sanding the surface with a chisel.
- Oil, let dry, polish
- The wonderful wooden gift is finished!
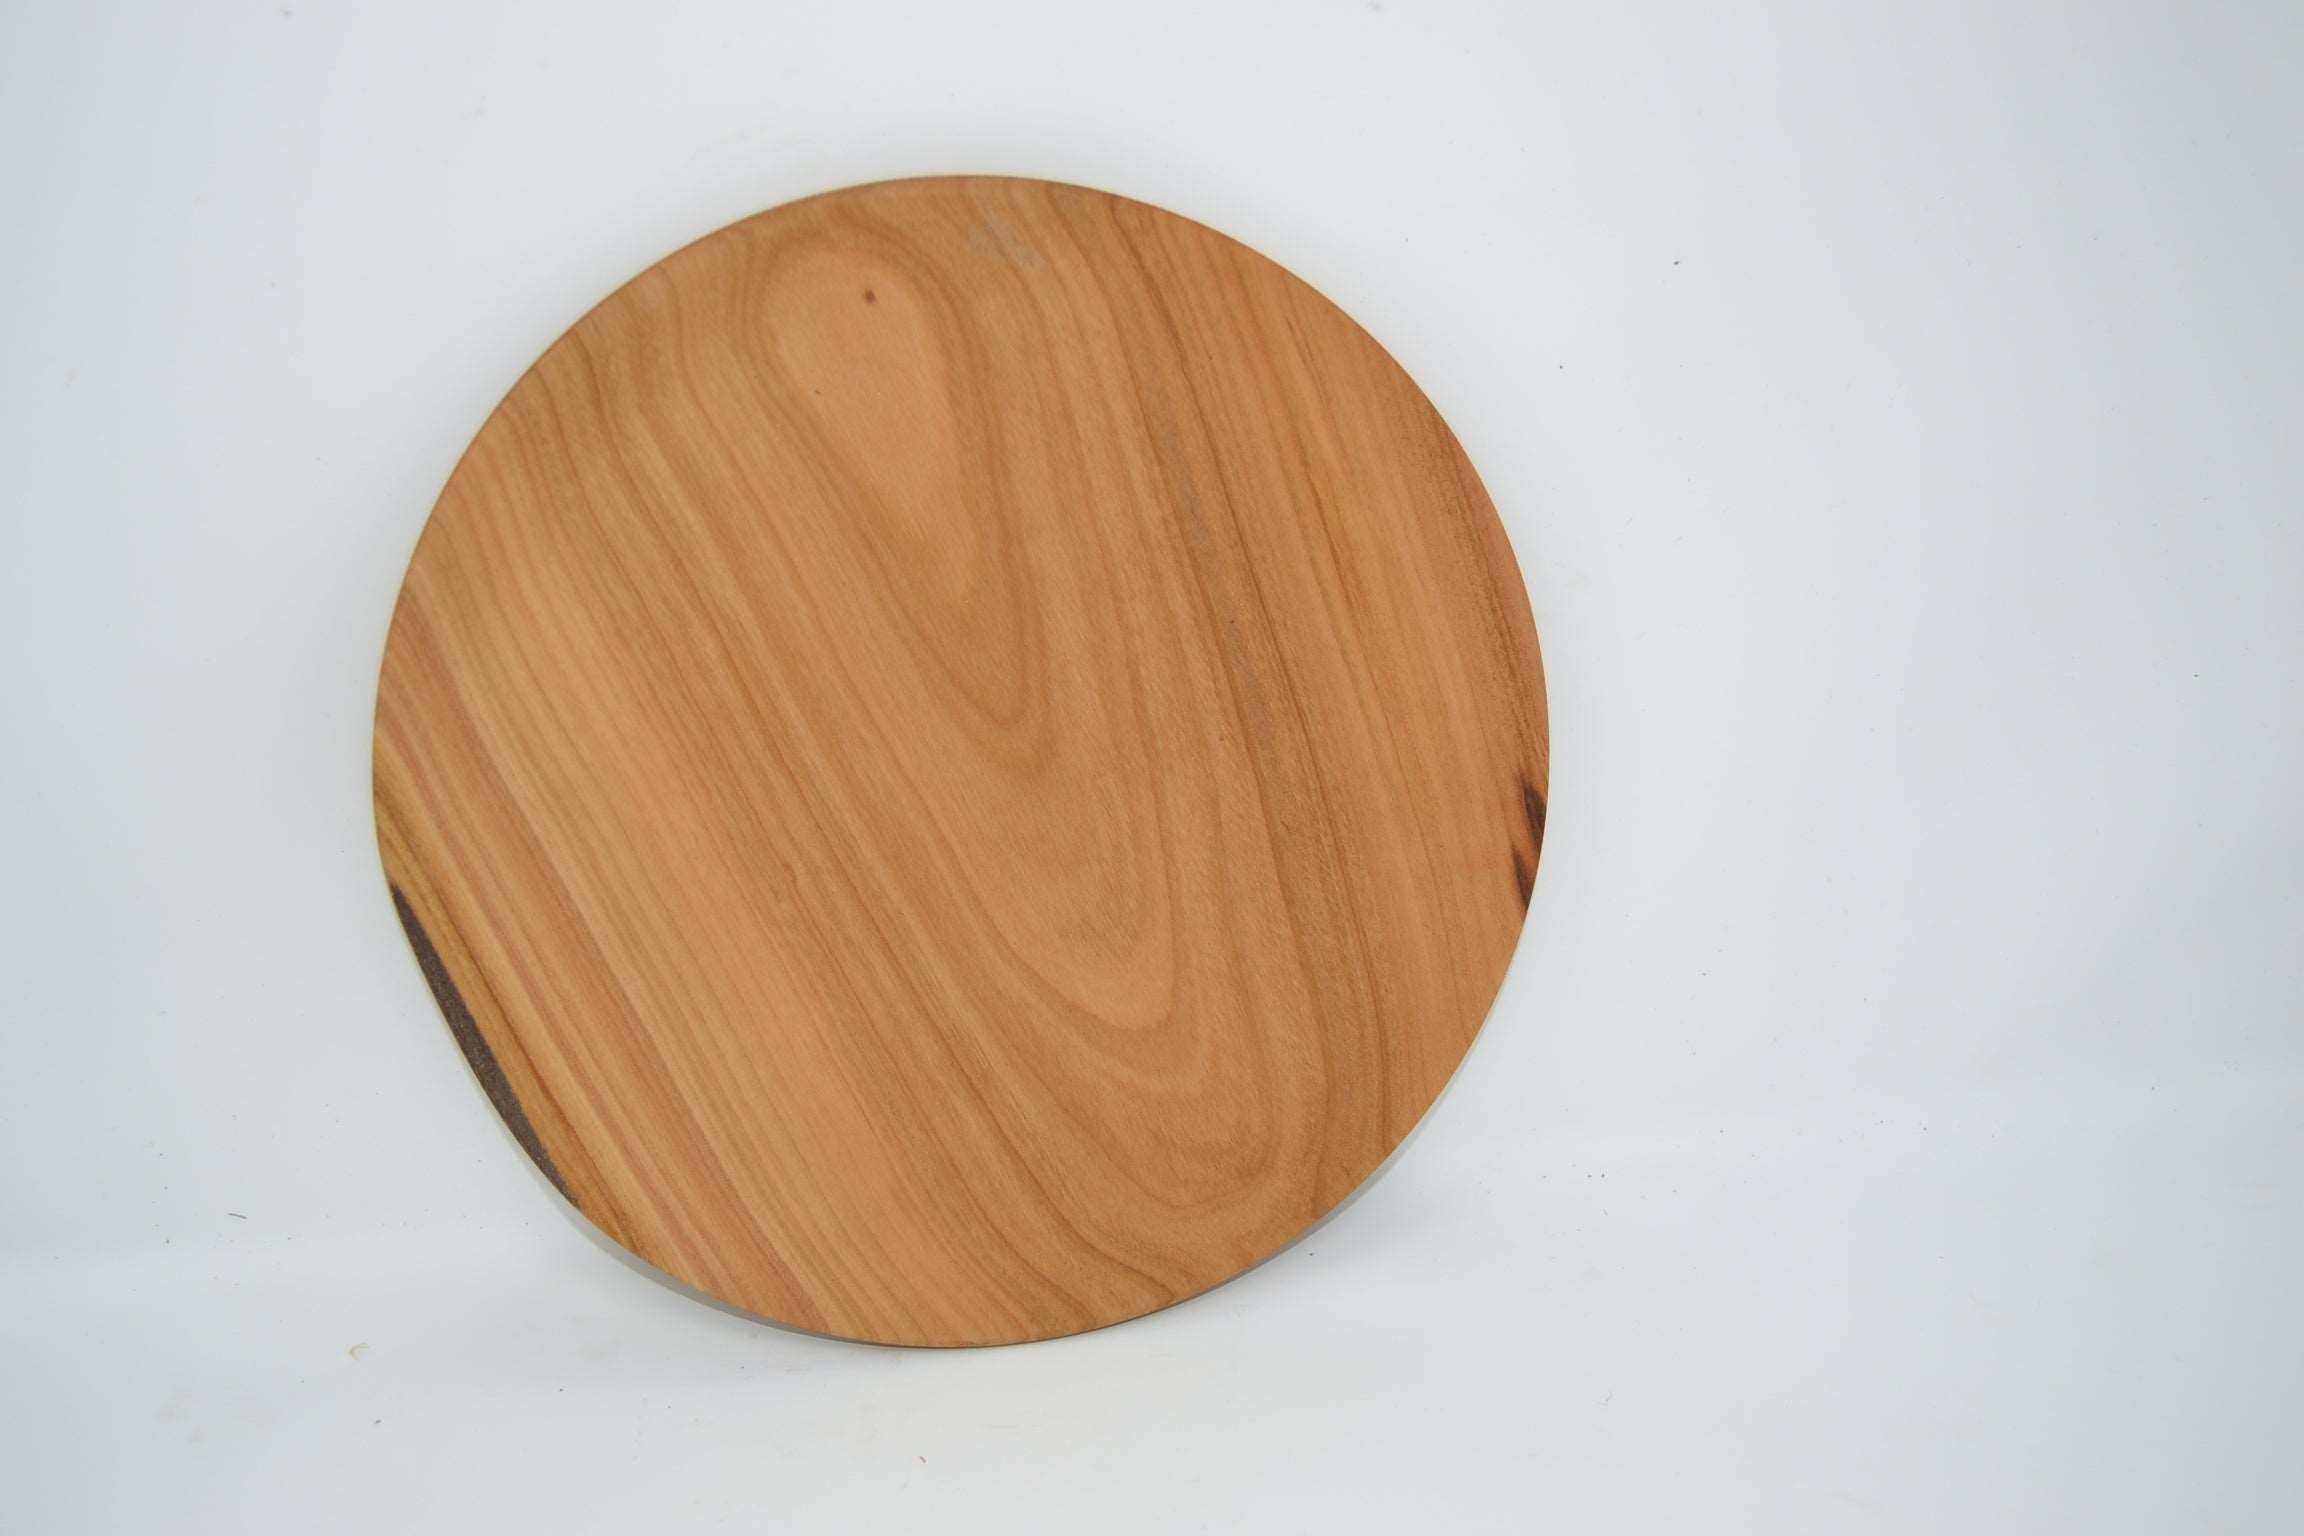
Steps in turning a wooden plate
Here I'll show you how to make a wooden plate from a simple piece of cherry wood.
The following work steps are necessary for this:
- Cutting: Everything starts with selecting the wood and cutting the wooden blank. The more accurately you pre-cut your wood, the less it has to be turned afterwards.
- Recess drilling: Since the wooden blank for wooden plates is usually very thin, I work with the chuck and recess instead of a face plate to securely clamp the wood. To do this, I drill a 30 mm hole with the cordless drill.
- Clamping & shaping the underside: I clamp the wood and start turning it. I first turn the blank round. Then I turn my attention to the underside and turn a tenon for clamping, which is needed for re-clamping.
- Re-chucking & turning the top: After the bottom is finished, the plate is re-chucked to turn the top.
- Sanding: Sanding is necessary for a beautiful surface. The more carefully you turn beforehand, the less grinding work is necessary. I sand here up to 800 grit.
- Oiling & Polishing: The final step is oiling and polishing. This highlights the beautiful wood grain of the cherry wood and protects the surface at the same time.

Steps in turning an Easter decoration
This is how my turned Steirerwuserl are created - the individual work steps when turning the Easter chicks are divided into the following steps:
- Cut the wood to length depending on the desired length of the wooden figure
- Mark the middle
- Roughly pre-turn between the points, turn round and turn tenons for the jaw chuck
- Clamp it using a jaw chuck and turn it into the desired shape
- Finish turning and sanding the surface with the chisel
- Paint or decorate as you wish and give as a gift


